Wednesday, August 22, 2012

More Trenches & Electrical


Trenches and electrical work. We currently have 4 huges winding trenches dug in our back and side yards. It looks like there's a goffer war waging in the back and we're losing. One of the trenches needed to be 22" deep so we had to call in some reinforcements.


Maceo's hard working!!


Joe and Jesse working hard digging more trenches


Energized!
Exhausted.


The electrical roughout is complete! Here are a couple photos that won't mean much wiithout the context but all the blue boxes and yellow wires are evidence of our electrical progress, yay!


Until next time......


Tuesday, July 24, 2012

WOW!

I can't believe it's JULY! We've had a lot on our plate this year and unfortunately the blog has been seriously neglected. I'm going to attempt to cover the last couple months in this update. We're still trying to be completed by the end of November but we won't be having our Thanksgiving house warming party as previously planned, instead we'll be preparing for a new addition to our family!

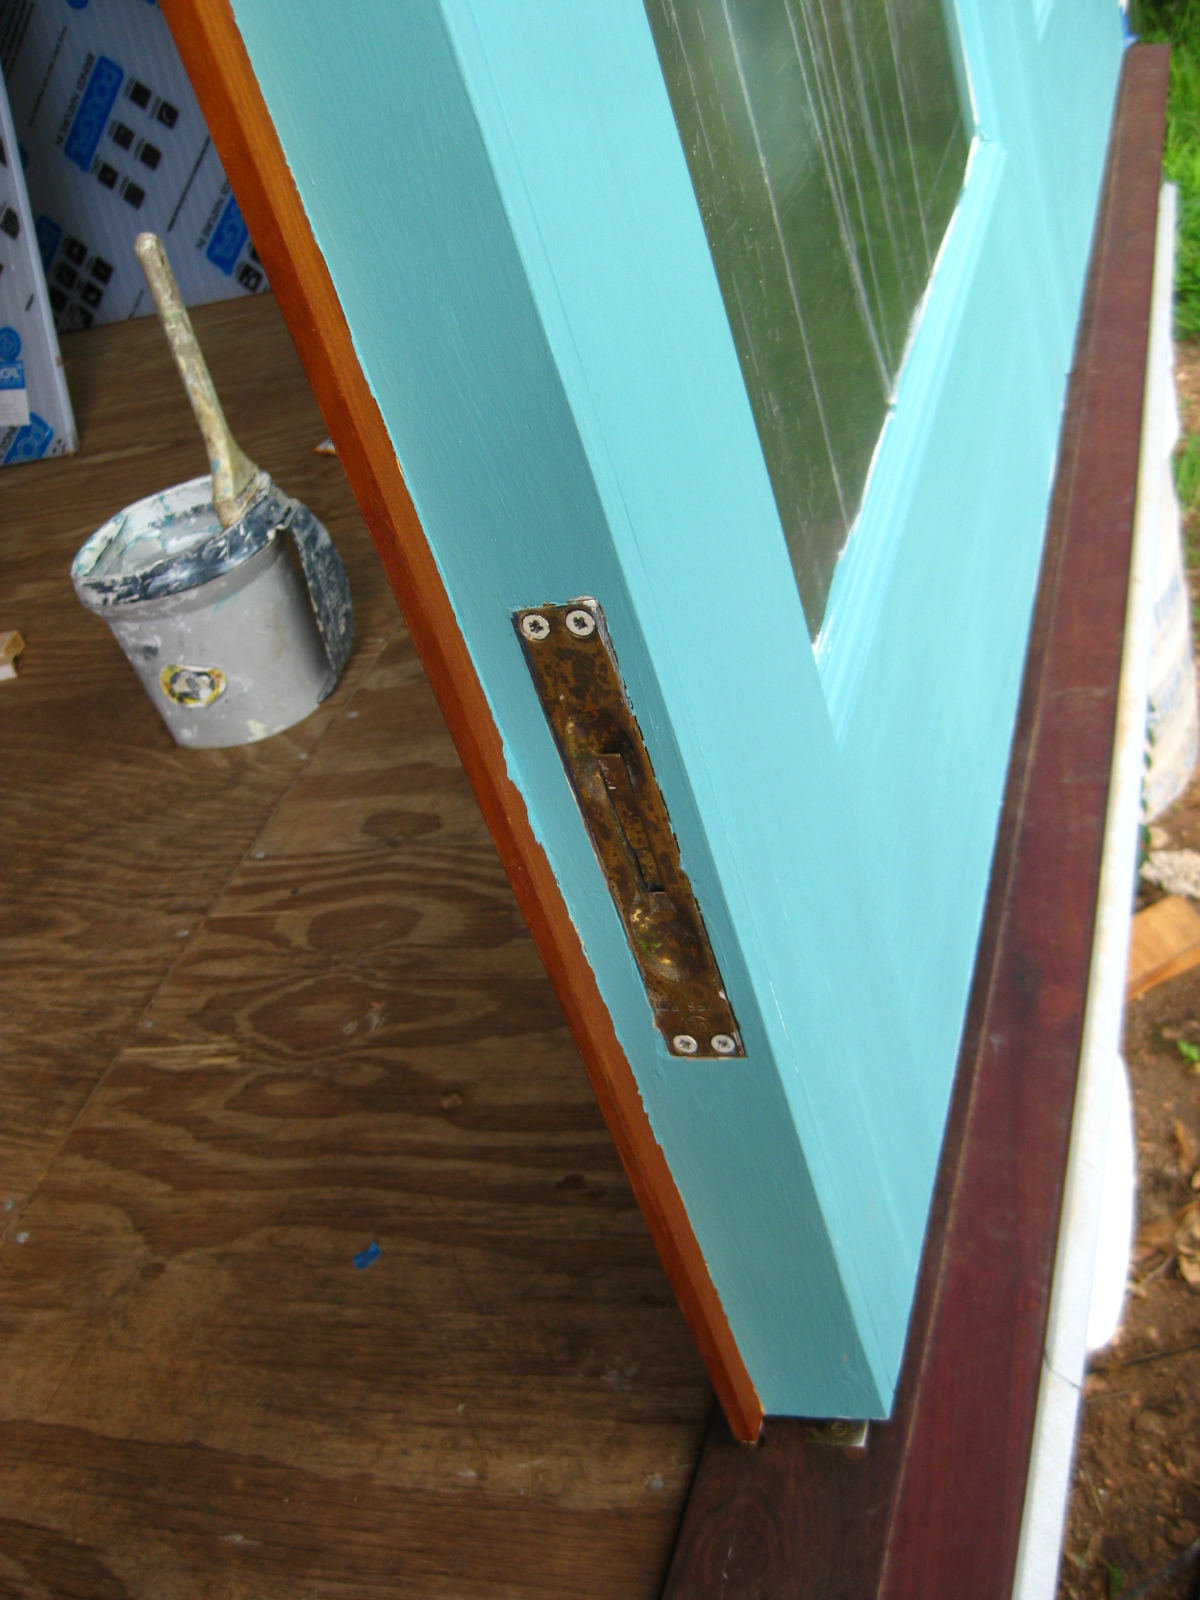
Ok, let's start with the doors. Jesse installed all the exterior doors. Including the bifold/swing exterior doors on the south facade. This was a bit of an experiment. Companies like NanaWall make these type of doors but they were way out of our budget. So Jesse did so research and found another company in Canada that makes heavy duty bifold and sliding door hardware. He was able to pick and match enough of the hardware from them to create a system for our doors. He's a genius! (I may be a little bias)
door prep station


stained door hardware prep


door locking hardware installed

hinge detail
Jesse's 'How-to-use' door video

Next we'll look at the screened in porch and south steps. These are under construction, the step treads are temporary, they will be replaced with a material similar to the floor decking at the screened and sleeping porch.

Oliver helping to survey the area prior to building

footings poured and framing beginning

there's a footing to catch each stringer


We'll fit a rain catchment barrel under this part of the deck to catch the downspout

It's going to be great to sit on these steps for movie nights next spring!


Next up the Polygal! This is the translucent material we worked hard to be able to incorporate into our project. I'm in love with the material and the application. Bubble wrap will be used in the wall cavities as insulation and another sheet will be applied to the interior. Special thanks to David Webber for the invaluable advice and tour of his home application!!
view from the office
 
The top panel is visible from the master bedroom while the bottom panel will add natural light to the closet
This section is above the dining area and stairs


view from the sleeping porch

Jesse's immaculate detail between the reclaimed cedar fence board, the polygal and the waterproofing membrane of the sleeping porch

detail at sleeping porch
 In Jesse's spare time he managed to renovate our existing house while I was out of town for a week. In exchange for a wall I received a dishwasher and garbage disposal for my birthday. Thank you Jesse!!!
Let the chaos begin! Half wall's down, kitchen is a job site

Remodelling my architect wife's house while she's out of town! What was I thinking???

Temporary support

Fridge relocated, threshold complete

Dishwasher installation

Wrapped and ready!! Surprise!!!
Plumbing begins...
Main bathroom plumbing with metal trough bathtub


W/C plumbing

Trenching! 15" trench from the new house to the street to tie into the sewer

These men banged this trench out in a day!!

Outline of trench

drain laid

Mj. Tom and Oliver think the trenches are their personal subway system

Thanks to the wonderful rain, it's a bit of a jungle out there.
Here's a picture or two the completed back gate. The panel the kids did at the work party looks great!


That's it for now. I'll try to stay more up to date with the posts. Especially since we'll be moving a bit faster in the ext couple months. Stay tuned for electrical, HVAC, drywall and siding completion!! Hope your summer's going well!

Sunday, December 18, 2011

Pouring a pad for the back gate

Trinity wants a dog even more than she wants the house to be finished, and we've been working on extending our fences to enclose the yard completely so we can go down to the pound and get a pooch. As I've been saying, building a fence will be the first half of our security system, a big mean dog will be the second half.
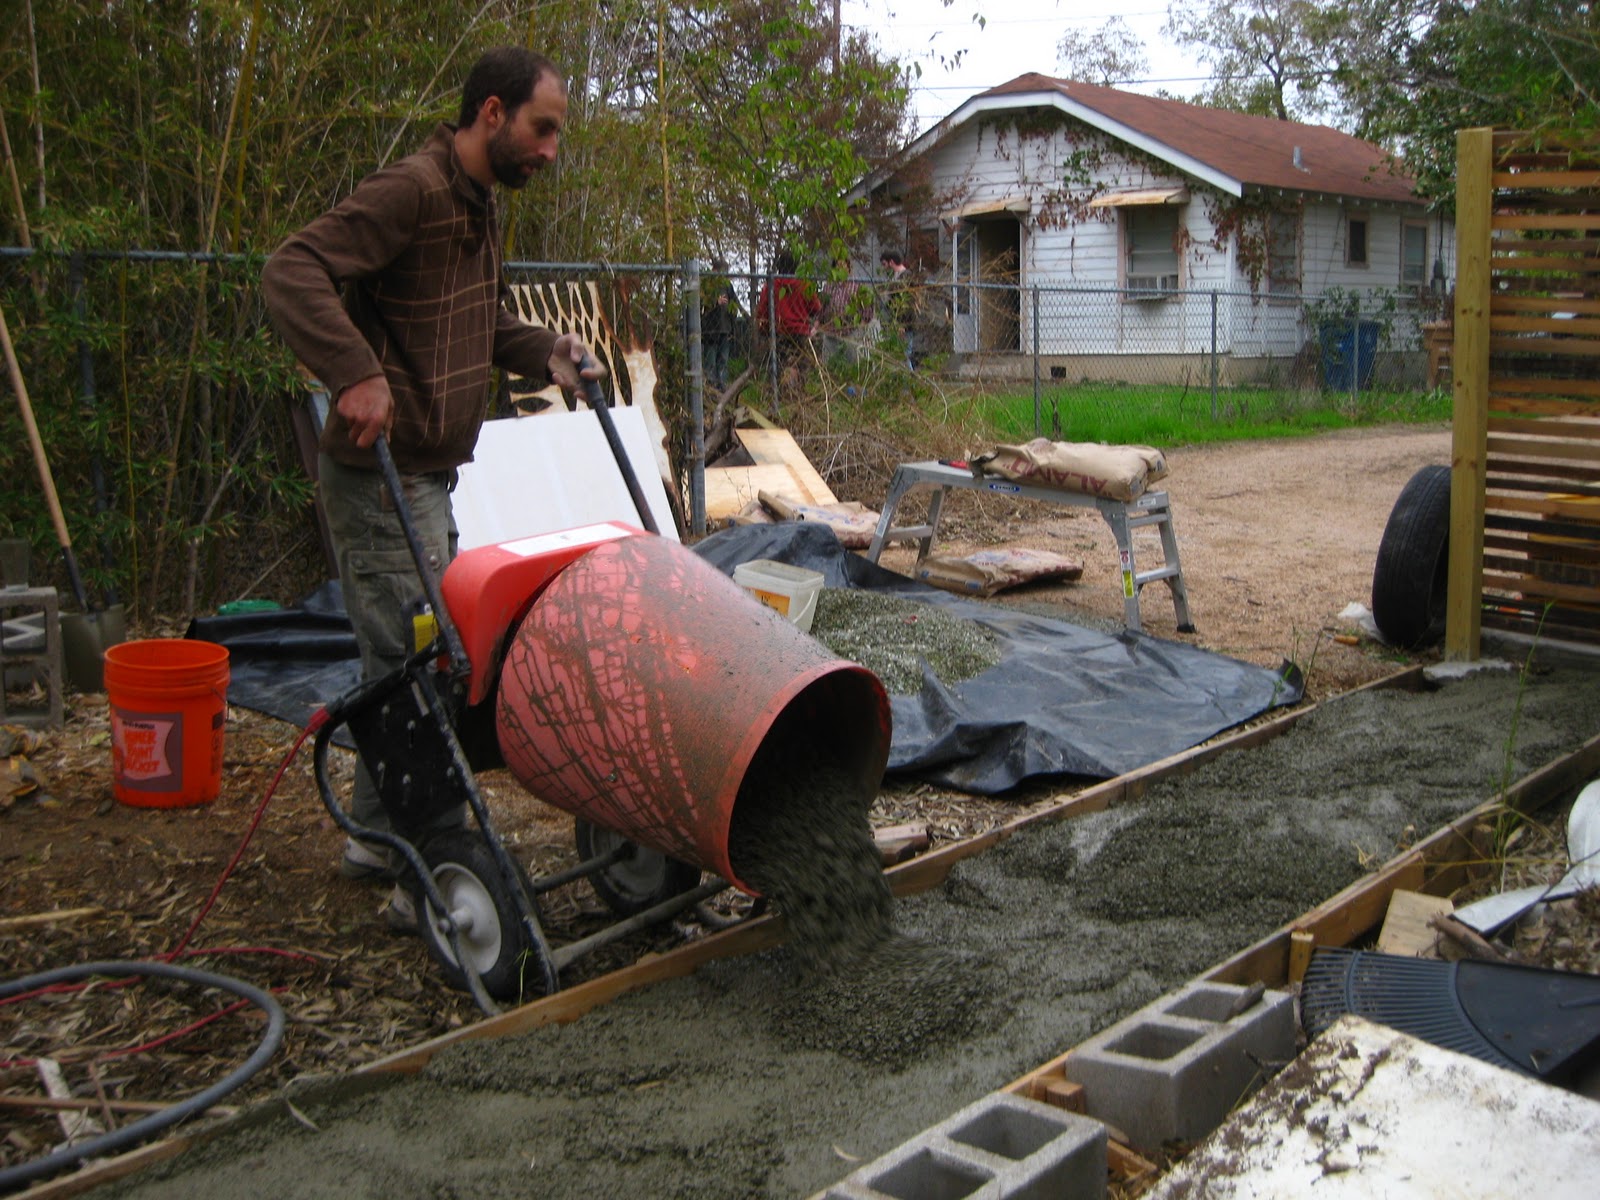
Jesse measures the "glass mulch" into the mixer.
We have an alley that gives access to the back of the property, and we wanted to make a gate that can open up enough so that if we have to drive a vehicle through it we'll be able to. We have a bunch of salvaged doors, and we're going to make a giant accordion style bi fold gate with hinges and casters. To make it easy for the casters to roll smoothly on a level surface, we needed a concrete pad.

Pouring the mix.
Because the pad will not be required to do very much structurally, we decided to save some money and make use of local, free recycled "glass mulch" from the city waste services department. Basically, in addition to recycling glass, the city of Austin takes bottles that it collects and grinds them down into a fine gravel. It makes this available to whoever wants this, most people use it in planter beds or as a glittery ground cover. (Two years ago we used the same glass mulch to fill a succulent planter in the front yard, and the cactus seem to thrive in the sandy glass mixture.) So, after some discussion and research, we settled on a ratio of cement, crushed glass and water. In the top photo you can see me carrying a small bin to the mixer, we used the bin as our measuing cup for cement and glass and measured the water by eyeball. I think we probably would have gotten a stronger mix by adding some sand to help the concrete fill the voids a little better. The glass mixture is partially sand, but more would have helped. However, the pad seems like it has cured up nicely. I will post photos soon of the pad now that it's cured.
Trinity spreading the wet cement. You can see the pile of broken glass on the black tarp in the background.
I'm not sure where the materials in the concrete mix they sell here comes from, but the cement we bought was locally produced, and the glass aggregate was local as well, in addition to being reused. So long as the pad doesn't start crumbling in a few months, it seems for now like a successful experiment.

Tuesday, November 22, 2011

Stringers and Siding for the stairwell to the sleeping porch

The sleeping porch is our biggest waterproofing challenges, and no part of it is more challenging than the stairway leading up to it, which will be exposed to weather. The bottom of the stairwell has already been covered by a roofing membrane by a crew we hired, but they can't finish their work until the sides are finished.
Trinity makes a crease in a piece of peel & stick underlayment to make it easier to apply it in a corner
The first step is to put up a layer of underlayment on the wall. This is the last line of defense in case water gets beneath the siding. The peel & stick variety we're using will seal around the staples that hold it in place, and also seal the nails that attach the siding.

This is the stairwell, finished... except for the stairs.
In addition to siding, the stairwell needed stringers which will support the stair treads. They had to go on first so that the siding could be fit in above them. Only four bolts were used per stringer to minimize the number of punctures in the underlayment.

Detail of the bottom of a stair stringer. Metal flashing was installed on the top of the stringer, and surrounding it are weathered cedar fence boards cut from discarded fence panels and layered to make siding.
 Now that the stringers and siding are in place, the crew we hired can come back and install flashing to shed water from the porch level (where jesse is crouching in the above photo) down onto the top of the siding we installed. Then it can flow to the bottom of the stairs where it drains through a floor drain. The drain is visible above- look for the ridiculously oversized leaf strainer thing at the bottom of the picture. I'm planning to replace the strainer with something a lot shorter.

Here's looking at you!
If you want to see a few photos of what this area of the house looked like just a few weeks ago, this post has a few.