Hope you enjoyed the windows! So now onto the siding. But first a joke...Why did the chicken cross the road?..you'll have to read on for the answer.We're using Hardie board planks for the majority of siding on our home. The trim will be galvanized metal throughout. We had the same company that made our roofing material make up some J molding for the trim. Details to follow. In some places we'll use reclaimed cedar fence boards. In a fantastic turn of events we've found a material and a solution to the translucent wall!! I can't tell you all how excited I am to have found a way to accomplish the design that we want. More on that when we get to the installation.  My nephew, Miles came down at the beginning of July to help us out with the siding. Brave man to come to TX in the summer to learn some construction! The hardie looks yellow b/c it's pre-primed but we're thinking of going with a color called Florida Keys blue.
 We went a looked at a house off of South Congress that has some really great details that we'd like to incorporate into our exterior. One of those was to have the seams of the siding land at the tops and bottoms of the windows. This is a great idea and looks fabulous unfortunately we decided on it after placing all the windows. So Jesse hit the excel sheet and I hit the ACAD and together we came up with a crazy pattern that works with 95% of the windows and looks like we had imagined.
Jesse and Miles have been amazing at implementing this pattern. Note the cheat sheet taped to the window with all the measurements for each course. 
This is a view looking down the west facade at the J-molding where it passes the cedar trim that will boarder the fence boards at the laundry space.
Why did the chicken cross the road?! To get to the job site, of course!

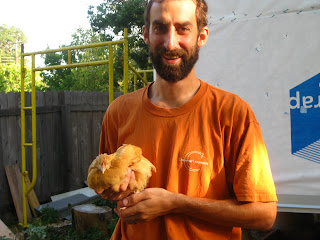
A little chicken wandered into the yard the other day and found some new friends. Her wing was a little hurt. We introduced her to the cats, decided Mj Tom wasn't the best chicken sitter and put her in a box with some mud, food and water. Much to Jesse's shigrin, I put up some signs for a lost chicken . The next day she looked rough so Jesse brought her to the pound for more attention. That afternoon we received a phone call from a neighbor looking for their chicken. So we passed on the pound info and said a little prayer for their reunion.
She was our first chicken visitor but not our last. We hope to have some chickens join our crew in the near future!


 Then he take both legs of the other half and secures one half long the jamb to the exterior and the other half along the sill to the exterior.


